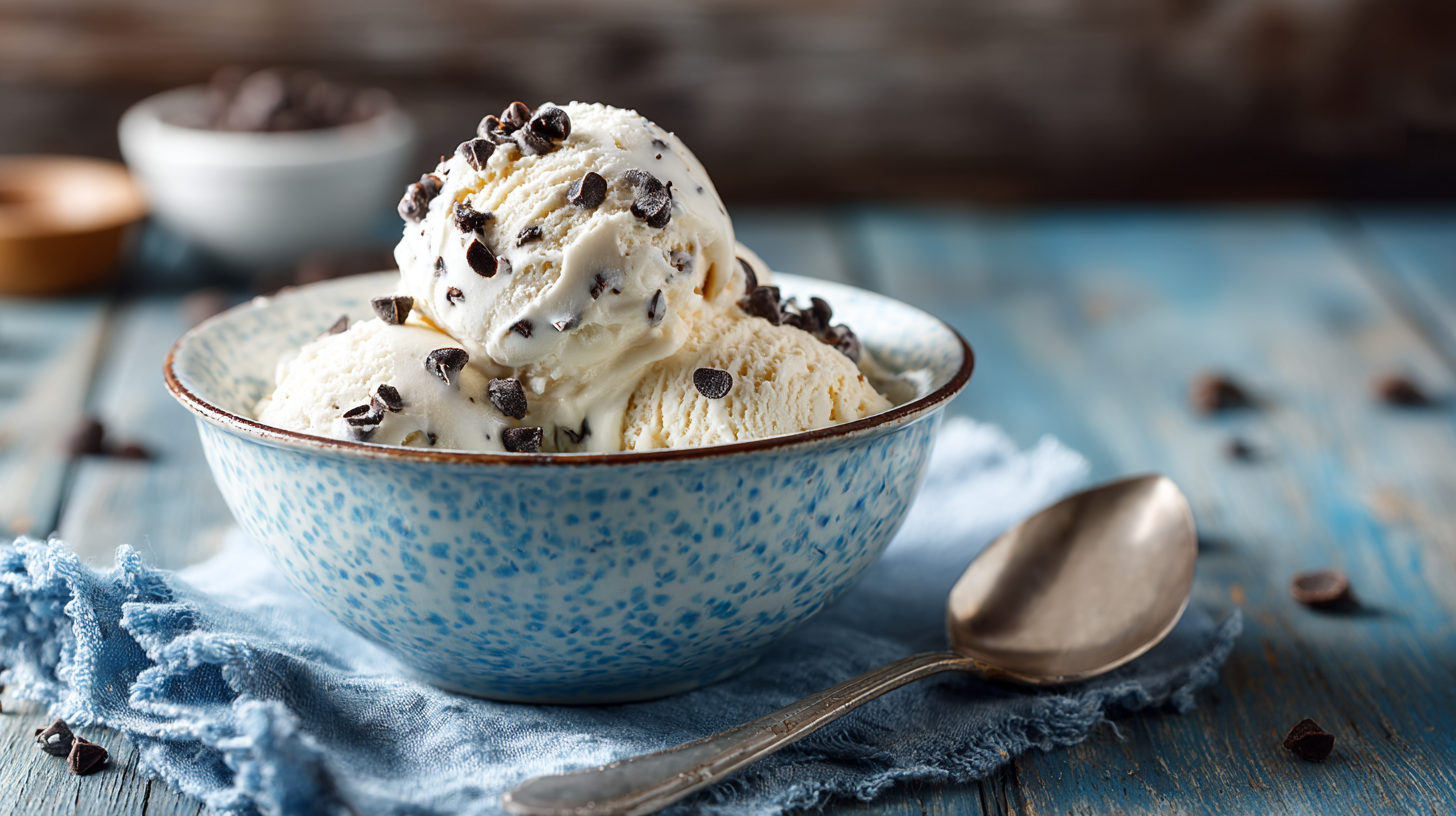
Protein ice cream has become a go-to dessert for those looking to enjoy something sweet without sacrificing their health goals. This creamy, high-protein treat is perfect for anyone craving a satisfying, low-calorie option that also fits into a fitness-focused lifestyle.
In this guide, you’ll learn exactly how to make smooth, scoopable protein ice cream right at home whether you’re using a blender or a Ninja Creami machine. We’ll even show you a data-backed cost breakdown to prove how much you can save. With simple ingredients and easy steps, you can enjoy your own healthy, homemade version whenever the craving strikes.
Table of Contents
The Story & The Science Behind Creamy Protein Ice Cream
How My Kitchen Journey Led to Perfect Protein Ice Cream
If there’s one thing I’ve learned in my kitchen adventures, it’s that dessert can absolutely be both indulgent and nourishing. My love for creating healthier treats began right in my Ohio kitchen, where I started experimenting with protein ice cream after getting tired of expensive store-bought options that never quite delivered. Most recipes I found either tasted chalky or froze solid like a rock.
Print
Protein Ice Cream: The Ultimate Healthy, High-Protein Dessert Guide (Blender & Ninja Creami)
Creamy, high-protein ice cream made with coconut milk, protein powder, and a low-calorie sweetener. Easy to make with either a blender or Ninja Creami for a healthy, guilt-free dessert.
- Total Time: 5 minutes
- Yield: 4 servings 1x
Ingredients
28 ounces canned coconut milk (chilled)
1 cup protein powder
1–2 tablespoons allulose
1 teaspoon vanilla extract
Instructions
1. Place a deep loaf pan in the freezer.
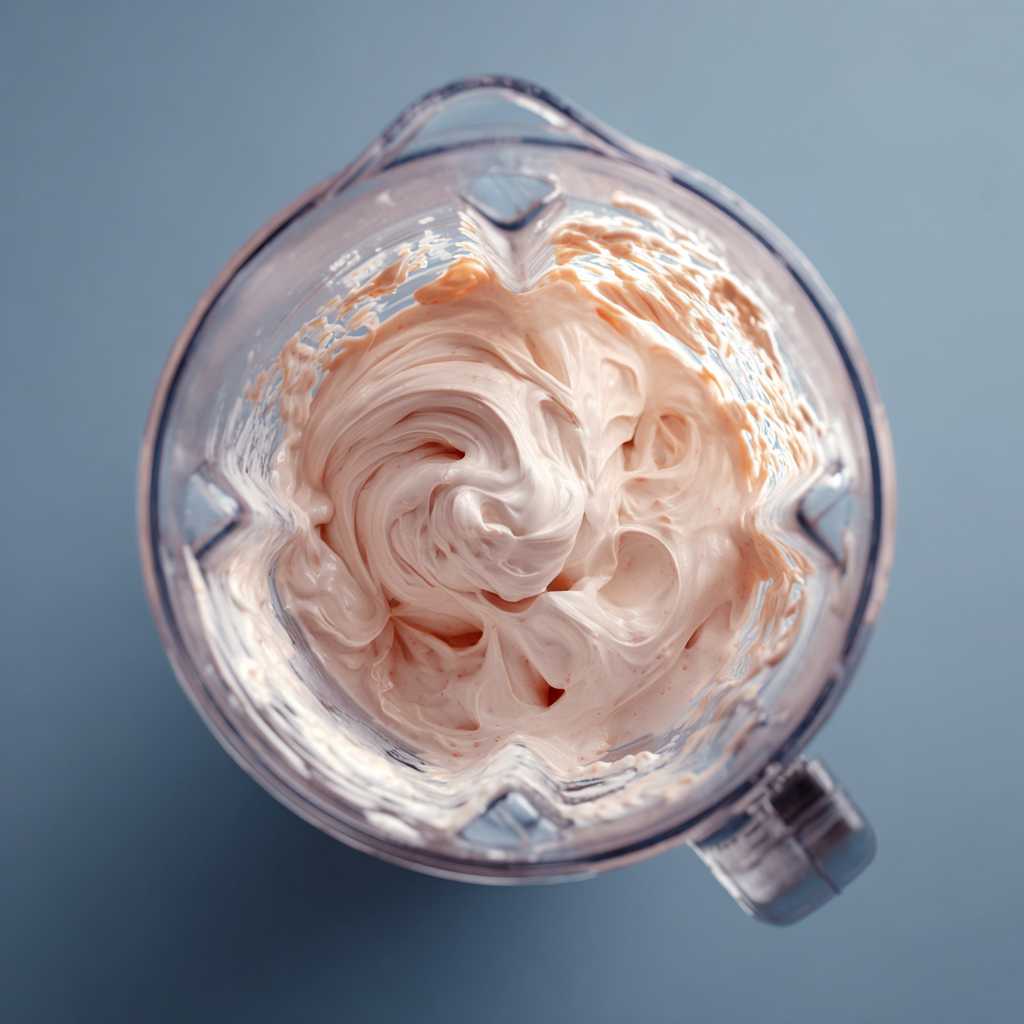
2. Blend coconut milk until creamy.
3. Add protein powder and allulose; blend until thick.
4. Transfer to loaf pan and stir every 20-30 minutes for the first hour.
5. Freeze until solid.
6. Thaw for 10-15 minutes before serving.
Notes
For Ninja Creami: Mix all ingredients, freeze in Creami pint for 24 hours, then spin on “Lite Ice Cream” setting.
Optional mix-ins: cocoa powder, peanut butter, chocolate chips, fruit.
- Prep Time: 5 minutes
- Cook Time: 0 minutes
- Category: Dessert
- Method: Blender or Ninja Creami
- Cuisine: American
Nutrition
- Serving Size: 1 cup
- Calories: 180
- Sugar: 2g
- Sodium: 50mg
- Fat: 12g
- Saturated Fat: 10g
- Unsaturated Fat: 2g
- Trans Fat: 0g
- Carbohydrates: 6g
- Fiber: 2g
- Protein: 15g
- Cholesterol: 0mg
Determined to find a better way, I started playing with ingredients like rich coconut milk, protein powder, and low-glycemic sweeteners like allulose. After plenty of trial and error, I finally created a version that was creamy, satisfying, and easy to scoop no fancy gadgets required.
This journey led me to not only create a recipe I loved but also inspired the idea behind Recipes Spoon my cozy corner for sharing simple, health-focused recipes that don’t compromise on flavor. And of course, my ever-watchful Ragdoll cat, Luna, was right by my side through every kitchen experiment, quietly judging my every move from her perch near the window.
If you’ve ever struggled with icy, hard-to-eat protein ice cream, I get it. But don’t worry this guide will show you exactly how to get that perfect creamy texture at home. Whether you’re craving a low-calorie treat or a decadent, healthy protein ice cream that fits your macros, you’re in the right place.
And if you love simple, high-protein desserts, you might also enjoy my 5-Minute Protein Pudding.
Why Homemade Protein Ice Cream Turns Icy (And How to Fix It)
One of the most common problems with homemade protein ice cream is iciness. But why does it happen? It all comes down to science specifically, ice crystals.
When you freeze a liquid mixture, water naturally forms crystals. The larger these crystals get, the icier and harder your ice cream becomes. Most commercial brands solve this with specialized stabilizers and emulsifiers, but at home, it’s all about balancing your ingredients.
Fat plays a major role here. Full-fat coconut milk or other creamy bases coat the ice crystals, preventing them from growing too large. Protein also helps because it traps air, giving your ice cream that light, fluffy texture. Casein protein, found in certain powders and dairy, tends to work better than whey for creating a thick, creamy base especially in no-churn methods.
Another key player? Sweeteners. Allulose, in particular, is a standout for DIY recipes. It doesn’t just sweeten; it also lowers the freezing point, keeping your ice cream soft and scoopable straight from the freezer.
For an even creamier finish, you can add a tiny pinch of xanthan gum or guar gum. These natural stabilizers bind with water and prevent those pesky ice crystals from forming. Just 1/4 teaspoon is usually enough to work wonders.
The Science of Texture: Your Ingredient Toolkit
| Ingredient | Role in Ice Cream Texture | Best Sources |
|---|---|---|
| Fat | Prevents large ice crystal formation, adds creaminess and richness. | Coconut milk, full-fat dairy, nut butters. |
| Protein | Adds structure, traps air for lighter texture. Casein works best for no-churn recipes. | Casein protein, whey protein, plant-based proteins (varies). |
| Stabilizers | Bind excess water to prevent ice crystals, improving softness and scoopability. | Allulose, xanthan gum, guar gum. |
Trust me after learning these tricks, you’ll never look at homemade ice cream the same way again.
Now that you understand the science, let’s look at the specific ingredients and tools you’ll need to make your protein ice cream perfectly creamy every time.
Essential Ingredients & Tools for Protein Ice Cream Success
Must-Have Ingredients for Creamy Protein Ice Cream
Creating creamy, high-protein ice cream at home starts with the right ingredients. Each component plays a role in making your ice cream smooth, rich, and satisfying.
First, you need a rich, high-fat base. Coconut milk is a top choice because it’s naturally thick and adds a creamy texture without dairy. Plus, it’s a perfect fit for those looking for a plant-based option.
Next, protein powder is essential. The type you choose can change your ice cream’s final texture:
- Casein protein tends to create a thicker, creamier texture, ideal for no-churn recipes.
- Whey protein mixes easily but can sometimes lead to a slightly icier result.
- Plant-based protein works too, though some blends may have a slightly gritty texture.
Sweeteners also matter. Allulose is highly recommended because it doesn’t just sweeten your ice cream it also softens it by lowering the freezing point. Other options like stevia or monk fruit work but won’t provide the same soft, scoopable results.
Finally, a dash of vanilla extract enhances the flavor, while optional ingredients like cocoa powder or peanut butter can turn your ice cream into a decadent treat. For those who love chocolate, try blending in a bit of cocoa to create a luscious chocolate protein ice cream.
Want to try a unique twist on flavor? You can easily apply these same protein techniques to other recipes like my Carrot Cake Protein Powder Recipe which blends beautifully into protein ice cream for a dessert that’s both nostalgic and nutrient-rich.
Tools of the Trade: Blender vs Ninja Creami
When it comes to making protein ice cream, the tools you use can make a big difference in texture and convenience.
A simple blender or food processor works well for no-churn versions. This method is quick and doesn’t require special equipment just blend, freeze, and enjoy. It’s perfect for those who love the simplicity of 3-ingredient protein ice cream or those seeking a no-churn protein ice cream.
| Blender Method | Ninja Creami Method |
|---|---|
| No special equipment required | Requires a Ninja Creami machine |
| Great for no-churn recipes | Best for ultra-smooth textures |
| Ready to serve faster | Requires freezing overnight before spinning |
| Slightly grainier texture | Creamier and scoopable consistency |
| Ideal for quick blends | Perfect for meal-prepping protein desserts |
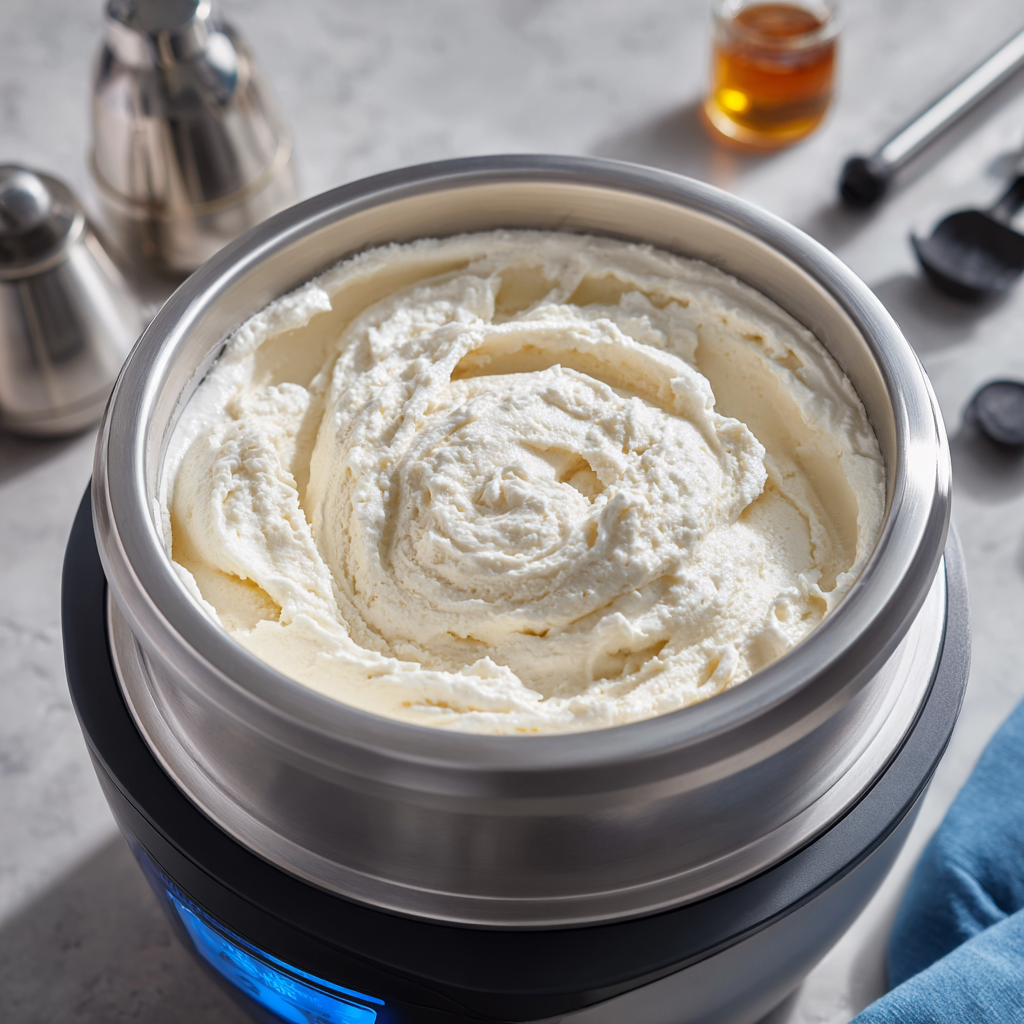
However, if you own a Ninja Creami, you’re in for a treat. This appliance specializes in transforming frozen mixtures into ultra-creamy ice cream with its re-spin feature. It can handle thicker bases like cottage cheese or Greek yogurt, making it ideal for experimenting with cottage cheese ice cream.
Not sure which method to try first? If you’re short on time and want a quick fix, start with the blender method. If you prefer an ultra-smooth, scoopable texture and don’t mind waiting for the freezing time, the Ninja Creami is worth the extra step.
Step-by-Step Protein Ice Cream Recipes
No-Churn Blender Protein Ice Cream Recipe (Easy Method)
If you’re looking for a fast and easy way to make protein ice cream, this no-churn blender method is your best bet. It’s creamy, rich, and requires only a few simple ingredients.
Here’s what you’ll need:
- 28 ounces of chilled coconut milk
- 1 cup of protein powder (casein works best for creaminess)
- 1 to 2 tablespoons of allulose
- 1 teaspoon of vanilla extract
Instructions:
- Place a deep loaf pan in the freezer.
- In a blender or food processor, blend the coconut milk until smooth and creamy.
- Add the protein powder and allulose. Blend until thick and creamy.
- Transfer the mixture into your prepared loaf pan.
- Stir every 20–30 minutes for the first hour to prevent iciness.
- Let the ice cream freeze completely. Before serving, thaw for 10–15 minutes and use a slightly wet ice cream scoop for easy serving.
If you’re craving a flavor twist, try adding cocoa powder for a decadent chocolate protein ice cream or swirl in some peanut butter for a peanut butter cup protein ice cream experience.
Ninja Creami Protein Ice Cream Recipe (Ultra Creamy)
For those who love their Ninja Creami, here’s a protein-packed recipe designed specifically for this powerful machine.
Ingredients:
- 1½ cups Fairlife milk or canned coconut milk
- 1 scoop protein powder (whey works well here)
- 1 to 2 tablespoons of allulose
- ½ teaspoon vanilla extract
Instructions:
- Mix all ingredients in a blender until smooth.
- Pour into the Ninja Creami pint container and freeze for at least 24 hours.
- After freezing, process on the “Lite Ice Cream” setting.
- If needed, re-spin to achieve your preferred creamy texture.
For mix-ins, try chopped nuts, sugar-free chocolate chips, or crumbled protein bars. This method is ideal for those wanting a soft, ultra-creamy healthy protein ice cream that rivals any store-bought version.
Looking for another creamy, high-protein treat? Try my 5-Minute Protein Pudding it’s the perfect quick snack to prep while your Ninja Creami base freezes overnight.
Troubleshooting & Pro Tips
Common Protein Ice Cream Problems & Solutions
Even with the best ingredients, making protein ice cream at home can sometimes lead to unexpected results. Here are the most common issues and simple ways to fix them:
| Problem | Solution |
|---|---|
| Ice cream turns out icy | Use full-fat coconut milk or add a small amount of xanthan gum (about ¼ teaspoon). Allulose also helps prevent iciness. |
| Ice cream becomes rock hard | Allow the ice cream to thaw for 10 to 15 minutes before scooping. Sweeteners like allulose lower the freezing point for a softer texture. |
| Ninja Creami makes loud noises | Let your pint soften at room temperature for about 10 minutes before spinning, and ensure the top of your mixture is level before freezing. |
If your recipe still isn’t quite right, try swapping your protein powder. Casein tends to work best for no-churn methods, while whey is great for Ninja Creami recipes.
For those craving more nutritious meal ideas, you might enjoy my Ground Beef Protein Bowl it’s another satisfying, high-protein option to keep you fueled.
Flavor Add-Ins & Creative Twists
Once you’ve mastered the basic protein ice cream recipes, it’s time to get creative with mix-ins and flavors.
Here are some ideas to elevate your ice cream:
- Chocolate Chips or Chopped Nuts: Add a satisfying crunch.
- Peanut Butter Swirls: Perfect for a rich, nutty taste.
- Fruit Additions: Mix in diced strawberries, blueberries, or mashed bananas for natural sweetness.
- Protein Bar Pieces: For extra indulgence, crumble a protein bar into your ice cream after blending or spinning.
You can also adjust the base flavors by adding espresso powder for a mocha vibe or cinnamon for a comforting touch. For those wanting a protein-packed breakfast-for-dessert option, check out my Asian Chicken Cranberry Salad it’s light, fresh, and delicious alongside a sweet treat.
With these variations, you’ll never get bored of homemade ice cream again. The possibilities are endless, and you can easily customize flavors to fit your cravings and nutritional needs.
Is Homemade Protein Ice Cream Cheaper? A Cost-per-Serving Breakdown
One of the most common questions about protein ice cream is whether making it at home actually saves money compared to store-bought options like Halo Top or Nick’s. Here’s a simple cost breakdown based on current market prices.
| Brand/Method | Cost per Pint | Protein per Pint |
|---|---|---|
| Homemade (This Recipe) | $3.50 (est.) | 60g |
| Halo Top (Store-Bought) | $5.49 | 20g |
| Nick’s Swedish Style | $6.49 | 22g |
Conclusion
Making protein ice cream at home doesn’t have to be complicated or expensive. With just a few ingredients and simple tools, you can whip up creamy, satisfying frozen treats that fit right into your healthy lifestyle.
Whether you prefer the speed of a no-churn blender method or the rich texture from a Ninja Creami, you now have everything you need to create endless ice cream variations. From chocolate and peanut butter to fruity swirls, there’s a flavor combo for everyone.
So grab your favorite ingredients, start blending, and get ready to enjoy your new favorite dessert one that’s delicious, nutritious, and packed with protein.
Love simple, healthy recipes like this?
Follow me on Pinterest and Facebook for fresh, easy meals straight from my kitchen to yours.
FAQ Section
How to make a 3 ingredient ice cream?
It’s simple! Blend together a creamy base like coconut milk or cottage cheese, protein powder, and a low-calorie sweetener such as allulose. Freeze the mixture until firm, then thaw slightly before serving for the perfect scoopable texture.
What are the ingredients in my protein ice cream?
The key ingredients include a creamy base (such as coconut milk or Fairlife milk), protein powder (casein or whey), a low-calorie sweetener like allulose, and optional flavorings like vanilla extract or cocoa powder.
Can I just add protein powder to ice cream?
Technically, yes but simply stirring protein powder into regular ice cream often results in a grainy texture. For the best results, blend the protein powder thoroughly with a creamy base and freeze it into ice cream.
Is protein ice cream actually healthy?
Yes, when made with wholesome ingredients, protein ice cream can be a nutritious dessert. It’s typically low in sugar, high in protein, and often contains healthy fats, making it ideal for fitness-focused eaters.
How to make ice cream in 2 ingredients?
You can blend full-fat Greek yogurt or cottage cheese with protein powder for an ultra-simple, creamy ice cream. Sweeten to taste, freeze, then enjoy after softening slightly.
How do you make 3 ingredient CREAMi?
Mix Fairlife milk, protein powder, and a sweetener like allulose in the Ninja Creami pint. Freeze for at least 24 hours, then process on the “Lite Ice Cream” setting. Re-spin if necessary for extra creaminess.